Open SSO Documentation
Description
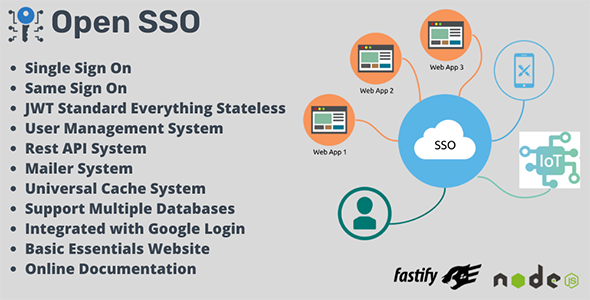
Open SSO is an User Management System with Single Sign On. Easier to manage your user and make them able to sign-in to all of your applications.
Open SSO was designed for high scalable purpose. Built with Fastify Framework, one of the fastest JavaScript framework. Open SSO is very small application (only user management system) and isolated, so this will make you easier to integrate to your current web/application.
Open SSO use denormalise database to achieve high performance speed for read and write also to make easier for migration to clustered or sharding database. To reduce the request into database, there is built-in cache using memory as default but easily to swith to redis in the future.
About authentication security, we follow the JWT standard Oauth 2.0 as describe in RFC7519 and RFC9068. Very fast performance because everything is stateless.
Documentation
Below here is the full documentation about Open SSO project.
Table Of Contents
Learn more
Get Started
Open SSO is a NodeJS application. Make sure you’ve done already to install the NodeJS server on your server or on your local computer.
A. Requirement
Minimum requirement to install Open SSO project:
- NodeJS min v.14.19.3 - Download NodeJS here
- Database [Optional]
- Redis 3 [Optional]
Note:
- The default database is using SQLite, but you can switch to another database like MariaDB, MySQL or PostgreSQL for easy monitoring, maintaining and scaling in the future.
- The default cache engine is using memory, but you can switch to Redis easily from config file. Using Redis is optional but it will become required if your application working on container service, clustered or behind the proxy load balancer.
B. Restore Database [Optional, you can skip this part]
This is optional, Open SSO using SQLite as default and all features works well with it. You need to setup database if you have a plan to run Open SSO using MariaDB or MySQL database server. You can skip this if SQLite is enough for you.
Install
MariaDBorMySQL. You can search how to install this by using Google search engine.Create a New Database, then execute or import the file
db.mysql.sqllocated inside directorydatabaseinto your database.
See the picture below.
Edit
config.jslike this below
You have to install one of this package.
- MySQL » npm install mysql2
- MariaDB » npm install mariadb
- PostgreSQL » npm install pg pg-hstore
- MSSQL » npm install tedious
- Oracle » npm install oracledb
- Done
Note:
- File
db.mysql.sqlis only works forMariaDBandMySQLonly. - File
db.postgre.sqlis only works forPostgreSQLonly. - Working with
MSSQLorOracleshould works too, but we don’t create the database structure for it, so you have to create it by yourself.
C. Build App and Run it
You have to build the app for the first time.
Go to the directory path then typing
npm installWait until the process complete.
Then you can run the app by typing
node server.jsNow, Open the url http://localhost:3000.
Note:
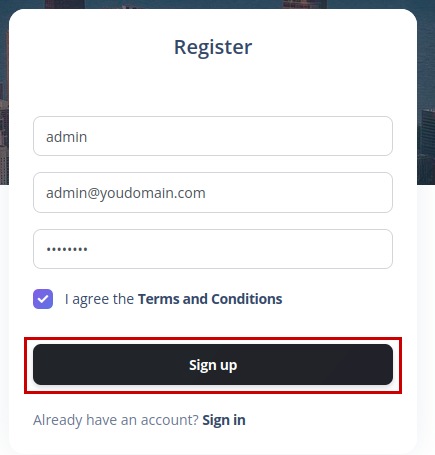
- There is no default account, so when you’re running this application for the first time, you have to register a new account to get the
adminrole.
D. Update
Open SSO is using many dependencies, please try to update some security patch before you deploy Open SSO to your server. This would be better if you repeat doing this periodically for every 6 months.
Update App
- Go to the directory path then typing
npm update - Done
E. Deploy to Server
If you finished doing from point A to D, now we prepared to deploying to server. In this case, I’ll using cPanel and SQLite database because it’s very cheap and easy.
a. Preparation
- Edit the
config.js file, then change this part with your domain or subdomain, in this case I’ll using my subdomainsso.sail-it.id.
- Then save it.
- Now select all files then compressed to zip, give it name
app.zip. - Done.
b. Upload to hosting
- Go to your
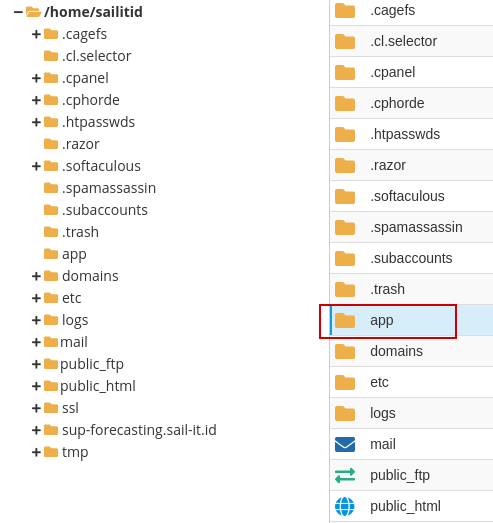
cPaneland look forFile Manager. - Create new folder name
appon root.
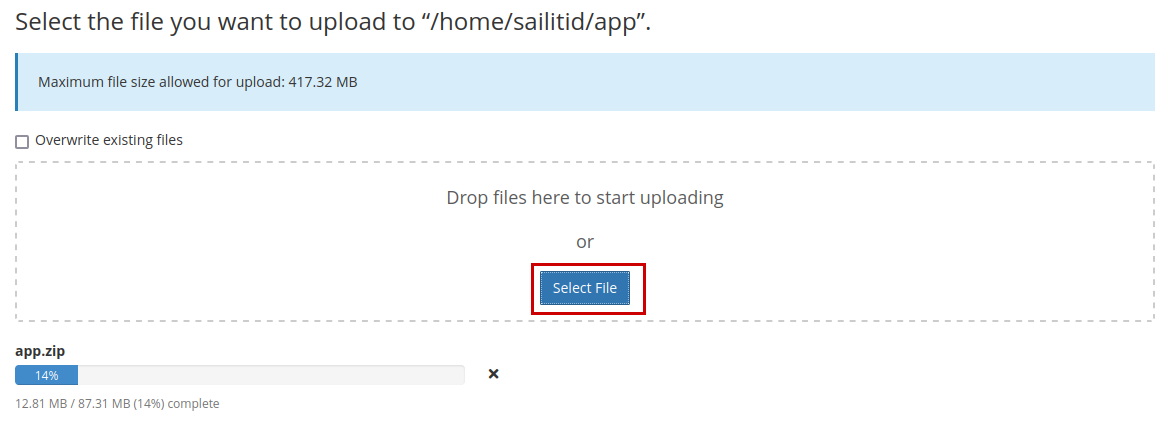
- Go inside app folder, then click
Uploadbutton at top left.
Then you will being redirected to the new page for upload, now choose your zip file and start upload it.
When the upload complete, you can close it page and back toFile Manager. - Click
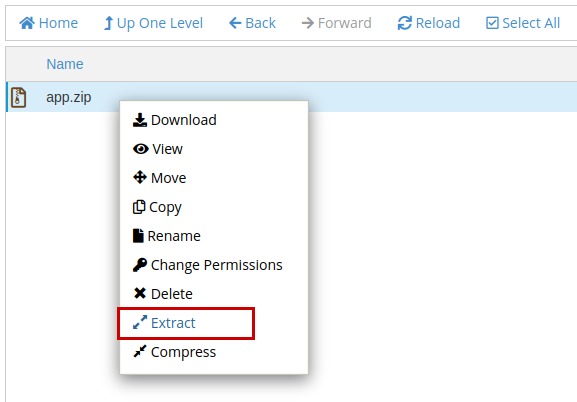
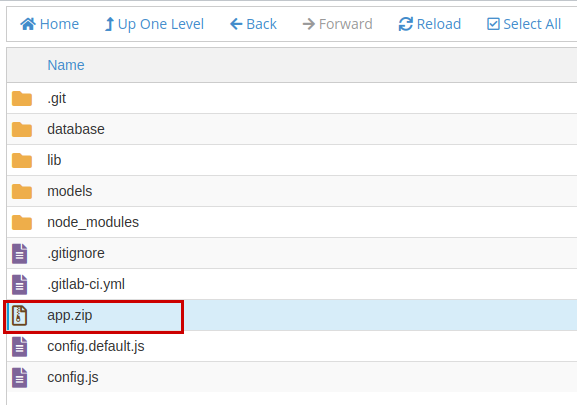
Reloadbutton then you will see yourapp.zipfile on there.
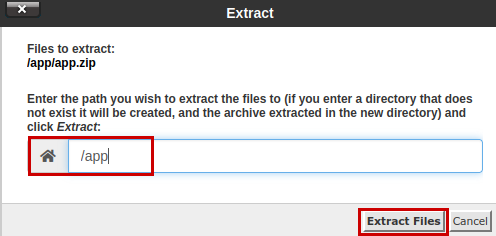
Now right click on that file, then chooseExtract.
Just type/appon it, then clickExtract Files.
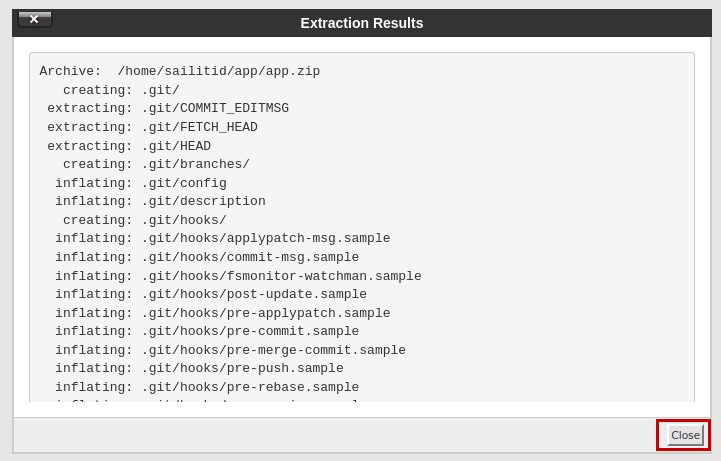
When the extract successfuly, it will shown like this below
Just clickCloseand clickReloadbutton again. Then you will see app files already extracted.
- Done, you can close the
File Managerpage.
c. Setup NodeJS App
- Go to your
cPanelagain. - Look for
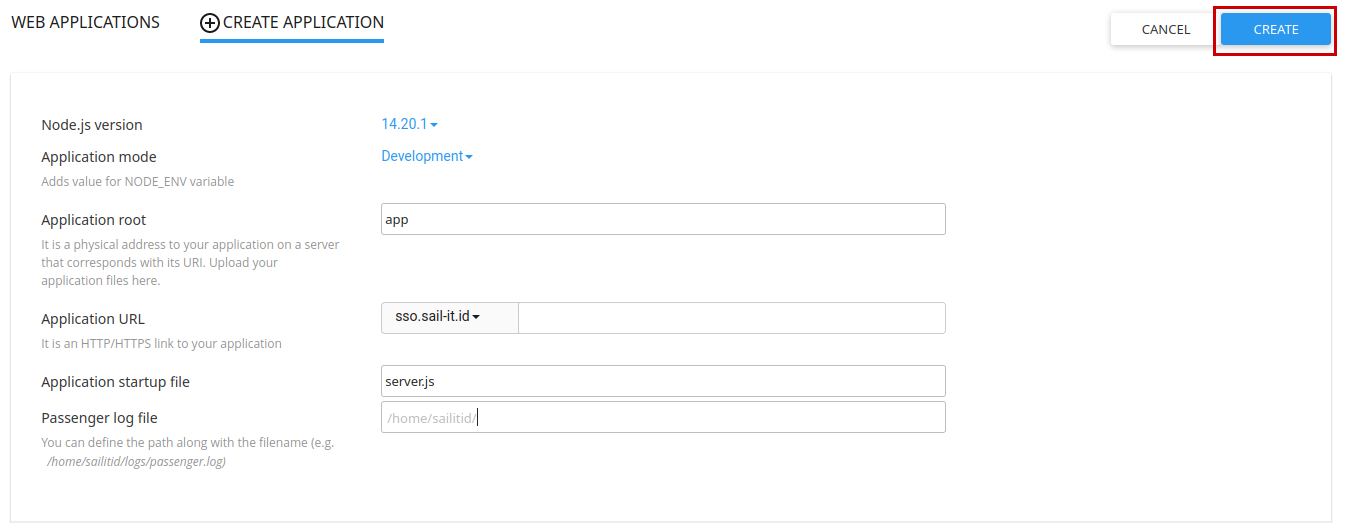
Setup NodeJS Appthen clickCREATE APPLICATIONbutton.
- Configuration should look like this below, then click
CREATEbutton
- Then click
Start App, if there is no error, the button will display like this below
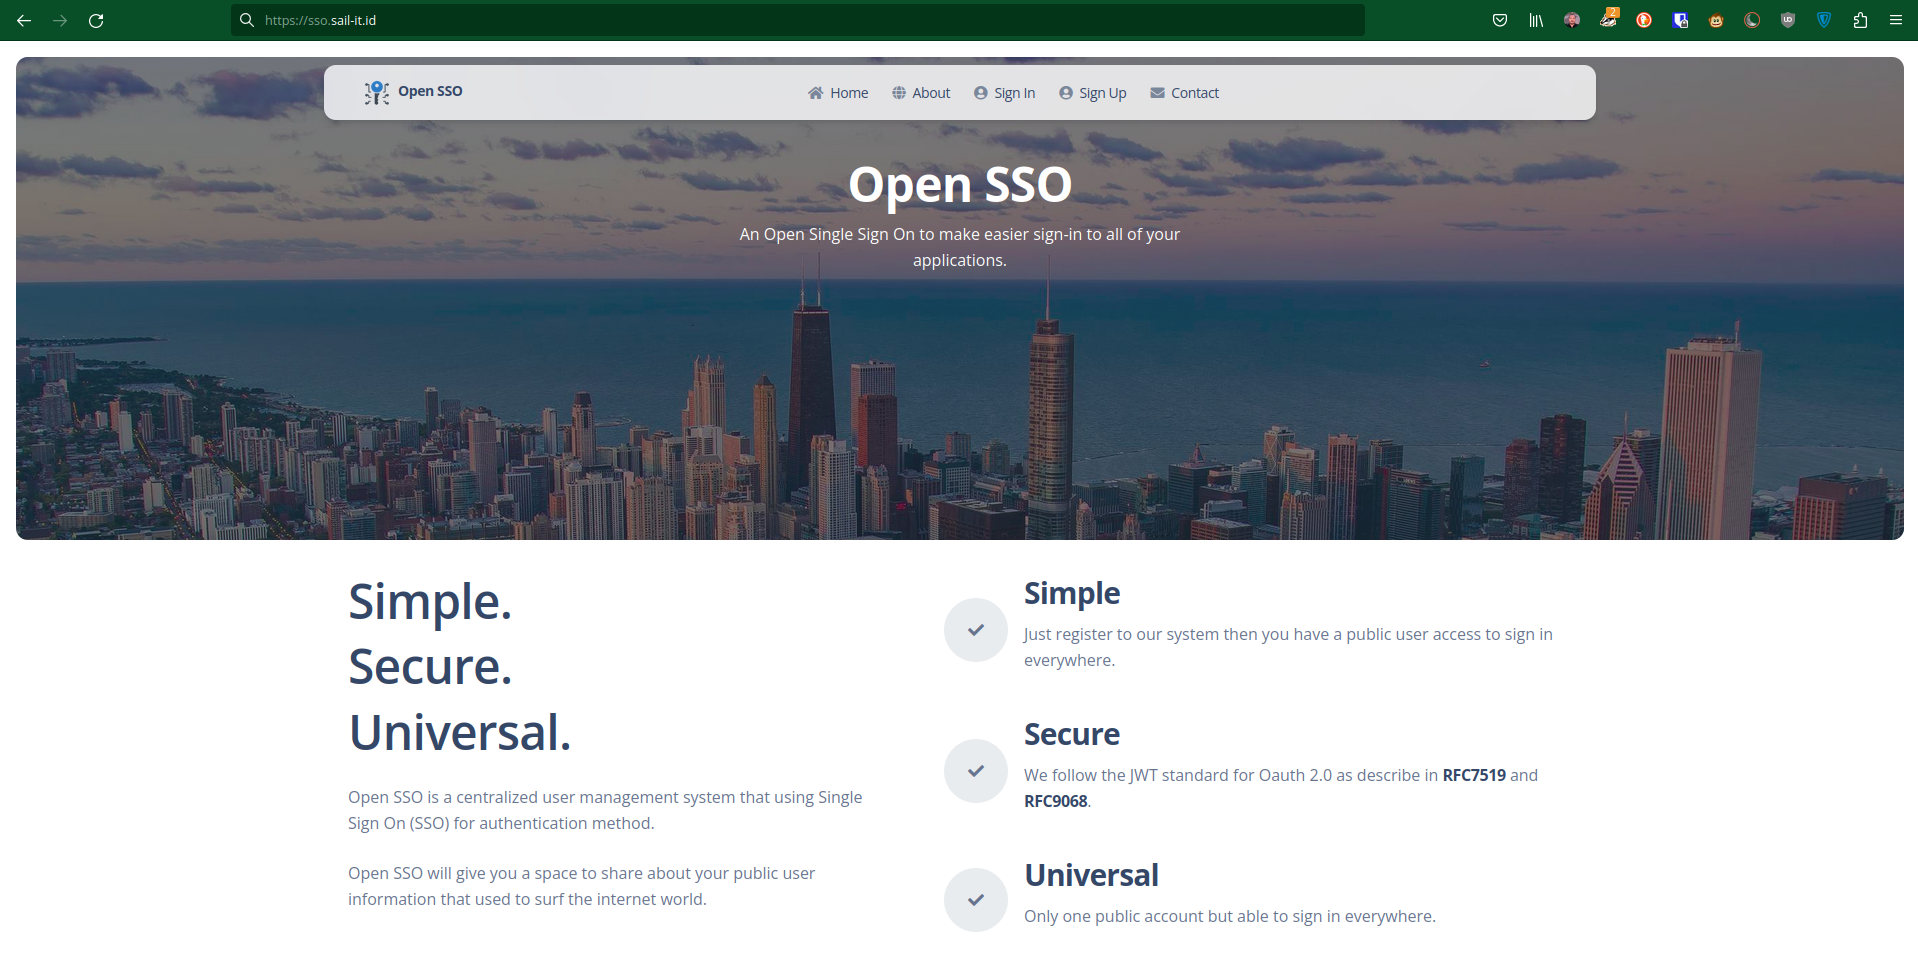
- Done, now try to visit the website.

F. Create Admin User
- Just go to
Sign Uppage. - Fill the form and click
Sign Upbutton.
- Done, the first user will get admin user automatically.
Help
If this documentation didn’t help to your spesific problem, just feel free sending email to aalfiann@gmail.com.
We always try to update this documentation in the future.
Credits
All Open SSO libraries or external scripts is using an open source library.
Frontend we using:
- Argon Dashboard 2
- Bootstrap 5
- reCaptcha V3
- Dom.js
- Axios Http
- Browser Storage Class
- Fly Json ODM
- Momentjs
- Native Form Validation
- ReefJS V12
- Sweetalert
Note:
- For backend, you can see the dependencies at
package.json. - There is no jQuery in this application, but you are able to add it by yourself if you need it.
Changelog
v1.0.0 - 03/2023
- First Release


